Eco-Life Hacks: Homemade Greek Yogurt

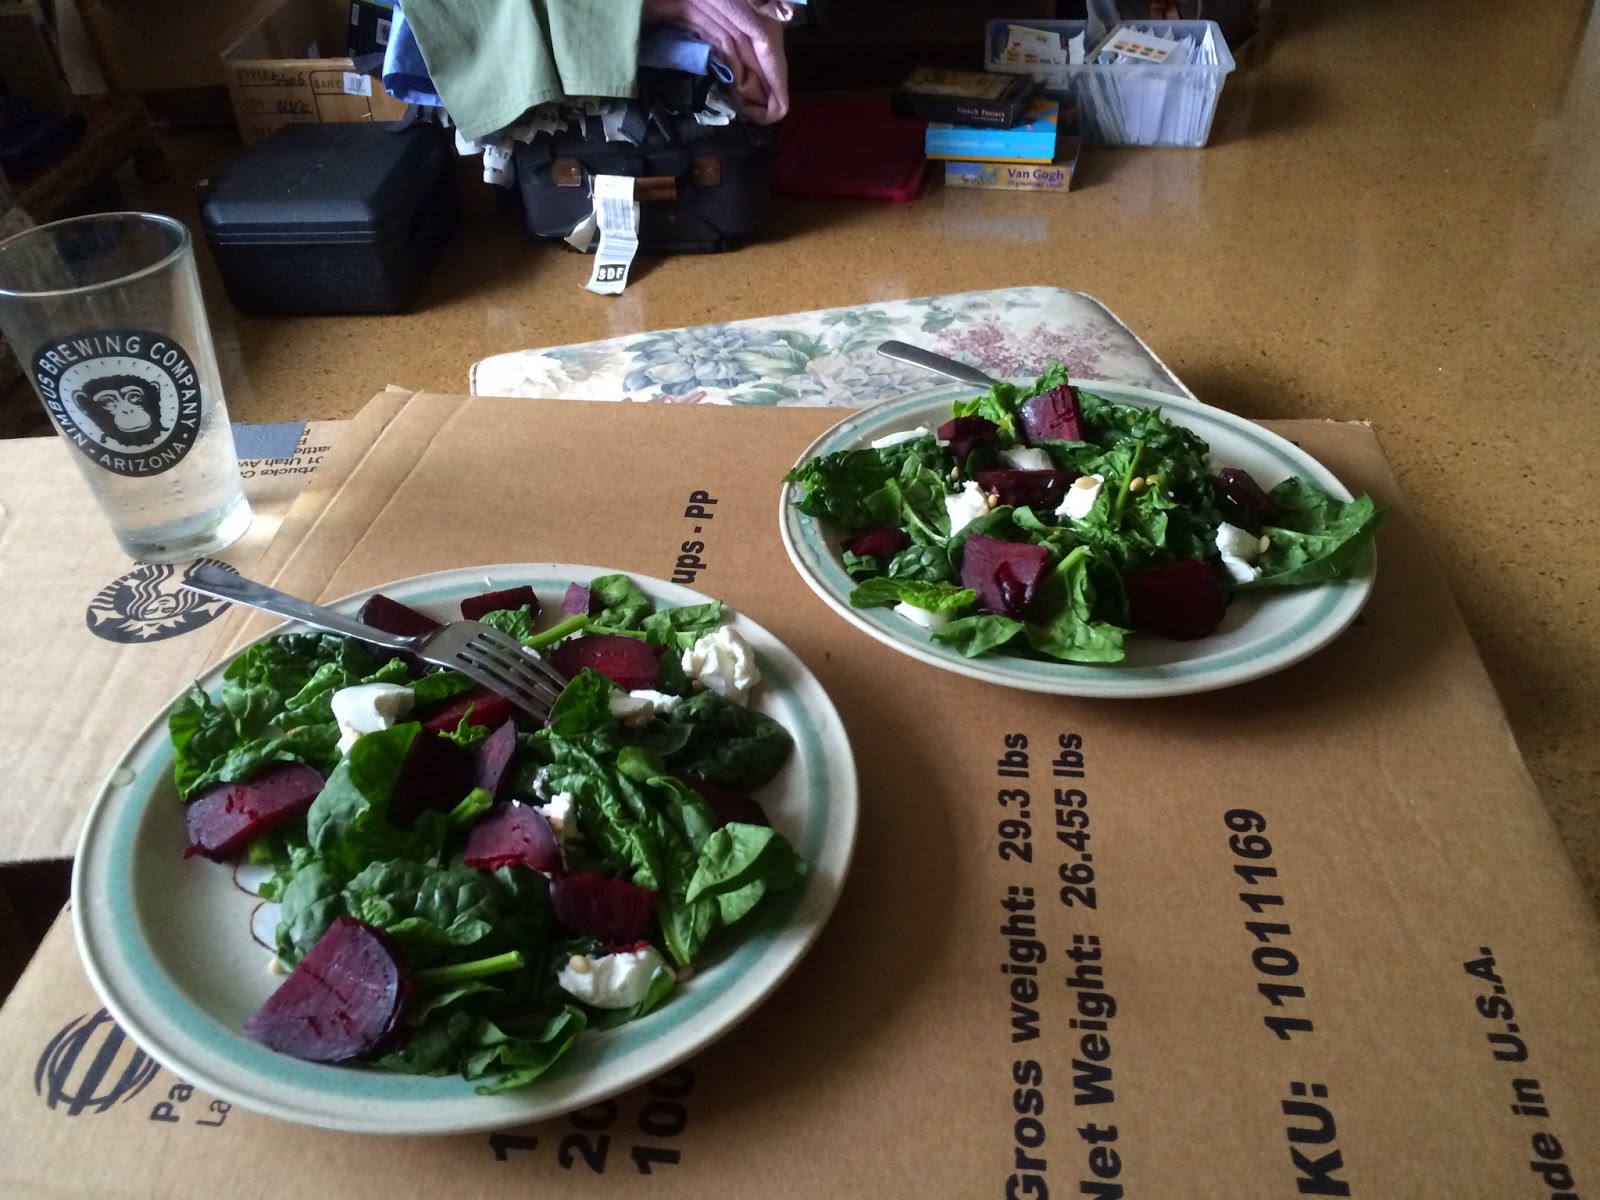
OK, you probably should be a little weary of
someone who eats as many beets as I do. Fair ’nuff.

Nearly two months into my life in State College and I’ve got a sneaking suspicion that I am already branded as the hippie chick. What do you expect from a biologist turned statistician?! I can’t help it though; if people bring up podcasts and DIY kitchen adventures, I’m going to be all up in that conversation. If you join me for dinner you’ll notice that my kitchen is fully set up while my dining table is a moving box. Priorities. If my apartment building doesn’t have a compost bin but there is one outside of my multivariable calculus course, then I am going to carry my compost to campus in a airtight container and dispose of it responsibly. If you invite me to watch the US/Ghana game, I’m definitely going to bring a healthy snack of veggies and hummus. And if you mention homemade yogurt, then I will get super excited and discuss my love for plain, Greek yogurt made by yours truly. Them’s just the facts.

Does anyone else remember inspecting their yogurt container from their lunch box and wondering what ‘live cultures’ meant? I think I was in denial for a while. This may have lead to my love/hate relationship with yogurt, until I finally fell for plain Greek yogurt. I just couldn’t stand the fruit booger filled yogurts (editor’s note: I second this opinion in my non-dairy based yogurt consumption!). But now, between my partner and I, we eat a lot of yogurt. Yogurt in smoothies. Yogurt with fruit. Yogurt with granola. Yogurt with protein powder. Yogurt with honey from my favorite farmer, buddy boy Matt Ak’s hive! *goes to eat a bowl of yogurt!* If you are on our level of yogurt consumption, you should consider making your own at home. It’s way easier than you’d think, and you’re rewarded with delicious yogurt containing no surprise ingredients. You should anticipate making yogurt fairly often (more than once per week if your schedule allows it) and buy milk accordingly. Did I mention it’s easier than you think?! 

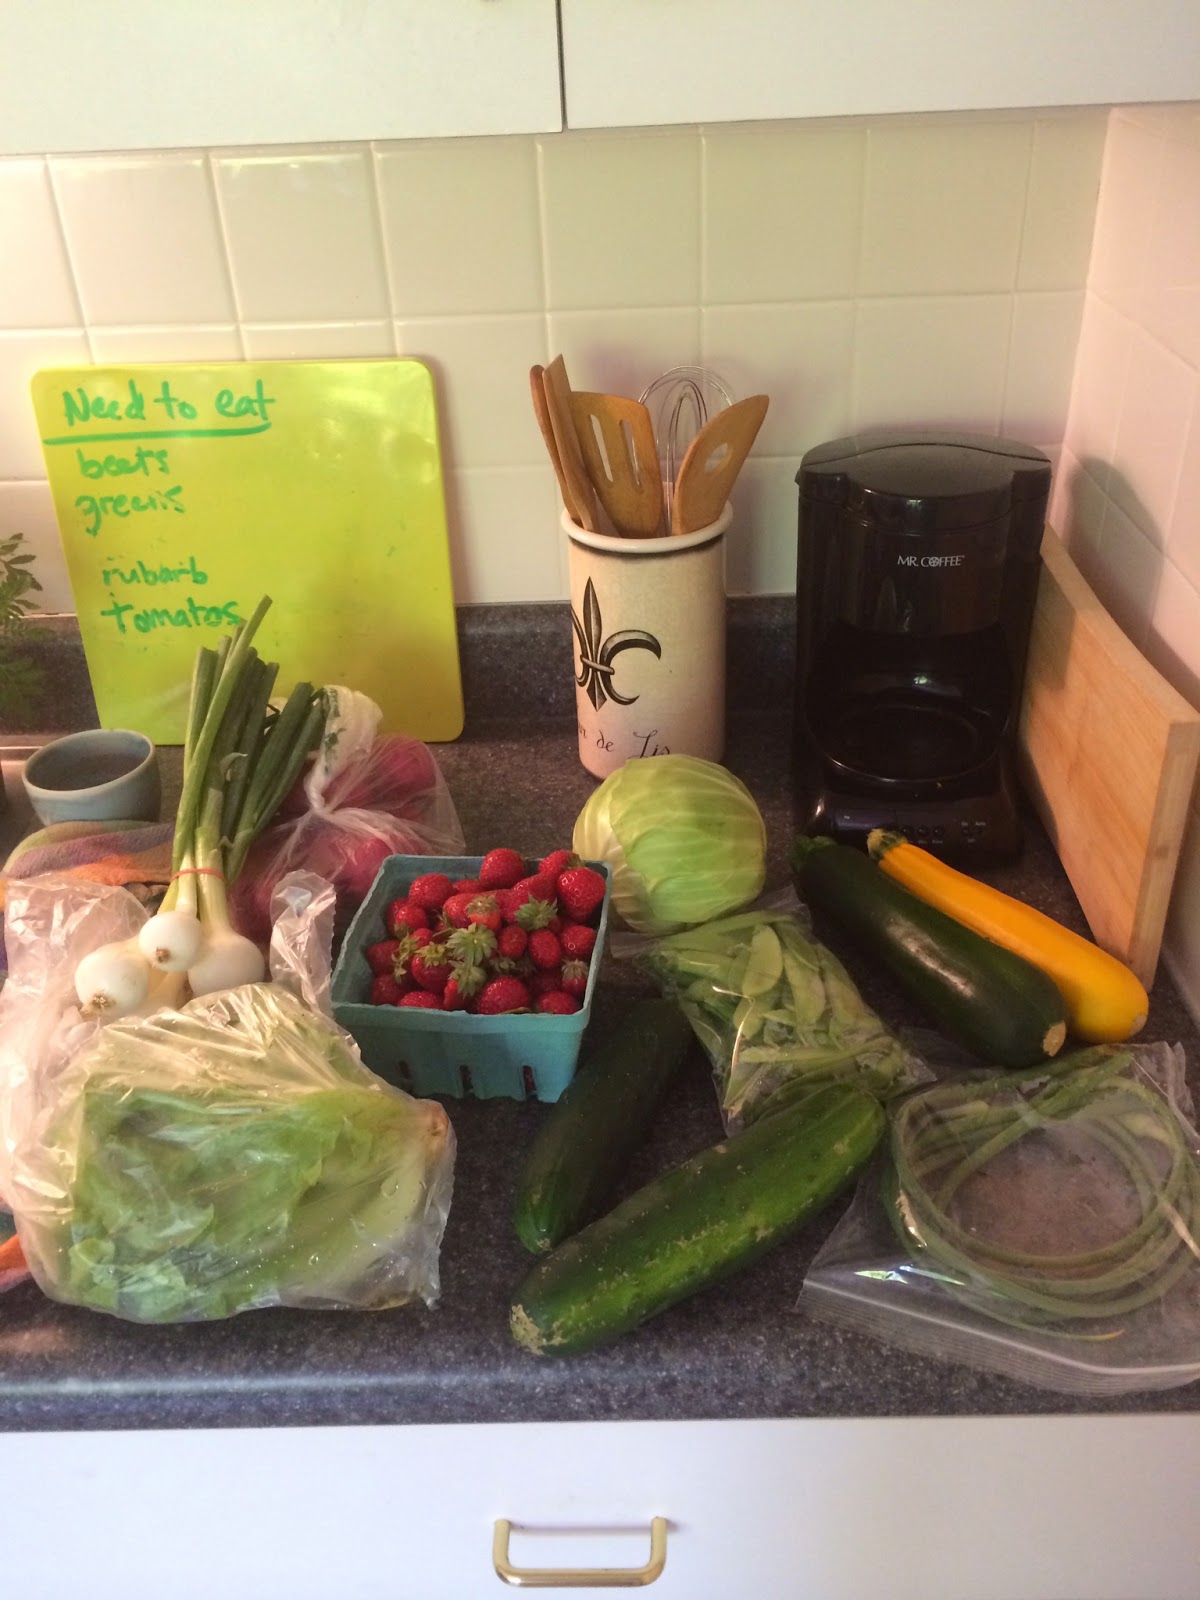
I can’t recommend CSAs enough. Look at all
the veggies I get in addition to a dairy
 share (milk, eggs, cheeses, etc).


To make yogurt you’ll just need: milk, thermometer, source yogurt, pot, cheese cloth, and (reused!) container(s). To add to our super sustainable lifestyle, we use local, whole, unpasteurized milk in returnable bottles. In Louisville, Kentucky, I’d found this type of milk at Earth Fare and a local food shop. Here, we have a dairy share with our CSA box and get a gallon of raw milk every so often, but it’s also available at the local farmer’s markets. Check around your area to see if local is an option. Sale of raw milk is totally legal in PA, but make sure and check your local laws about dairy sales. If you have a thermometer with an alarm you’ll be so very happy. We don’t, and every so often we don’t catch our creation before it passes the threshold temperature. If you let the milk boil, then usually your yogurt won’t turn out well. Cheesecloth is a solid investment for anyone who likes to DIY in the kitchen. Please don’t use it once and then throw it out. We’ve used the same cloth every time we’ve made yogurt and just given it a good cleaning after each use. Easy, healthy, delicious.

But what exactly is going on once you add the source yogurt in those 12 hours of sitting? Oh, no big deal, just the milk is being fermented via prokaryotic microorganisms which produce lactic acid causing milk proteins to solidify. Whaaaaaat? Not only that, but the bacteria in the yogurt is good bacteria, or probiotics, that help your tummy zoo keep away bad bacteria. Well…that sounds handy. The bacteria grow to a high enough concentration in the yogurt that they can even get past stomach acid. Safety in numbers! It’s great to replenish your internal micro-organismal environment, as it can be easily disturbed. Factors such as stress, sickness, antibacterial medicine, parasites, and daily excretions. Yogurt to the rescue!

Freshly made this week! I’m enjoying it with
some honey and blueberry granola!

Follow this easy recipe for your own plain, Greek yogurt! You’ll know exactly what ingredients go in and save money in the process. My recipe is based on a hodgepodge of different online recipes with some extra notes added. If you want regular yogurt, just skip the straining steps!

Ingredients:
1 Qt. Milk
5 oz. Source Yogurt

Tools:
Pot
Stove
Thermometer
Stirring apparatus
Cheese Cloth
Straining Setup

Recipe:

  1. Heat all milk save for a few ounces in large pot to 180˚. I keep the stove on a low setting so that it heats slowly and you don’t miss when it boils. On my stove this takes about 10-15 minutes, but it’ll vary. Set a timer the first time you make yogurt, then you’ll know for future endeavors!
  2. When milk reaches 180˚, remove from heat and keep an eye on it as it cools. Meanwhile, mix the source yogurt and the milk you didn’t heat together.
  3. When the milk reaches 115˚, add the yogurt mixture. Mix thoroughly. Some recipes say not to disturb the film on top, but I’ve never had any issue with it. The milk usually takes at least 30 minutes to cool, but keep a close eye!
  4. Turn on your oven to the lowest setting and let it warm up a bit. Place milk mixture into the oven. If necessary, pour into oven safe glass bowl. Turn the oven back off – it should stay warm. Place towel over top and let it be for 10-12 hours.
  5. The mixture should be thicker in texture after this time. Line a colander (strainer) with cheesecloth and pour the mixture in. Allow liquid to drain, squeezing if need be. 

Greek Yogurt achievement unlocked! Enjoy with your favorite toppings or on its own!

Resources:

http://science.howstuffworks.com/innovation/edible-innovations/yogurt2.htm  
http://www.scientificamerican.com/article/bring-science-home-yogurt-bacteria/
http://aboutyogurt.com/index.asp?bid=28#Q3
http://biology.clc.uc.edu/fankhauser/cheese/yogurt_making/yogurt2000.htm
http://www.health24.com/Diet-and-nutrition/Vitamins-minerals-and-supplements/Good-bacteria-vs-bad-bacteria-20120721
http://nourishedkitchen.com/troubleshooting-homemade-yogurt-questions/

What’s in Her (Field) Bag

Summer is a funny time for an ecologist.  As a student, my classes have all wrapped up (I’m actually all done with class now, forever!!).  My social media is full of people’s summertime adventures.  My partner, who teaches communications courses at community college, is in full on vay-cay mode.  Me?  This is my busy season.  I have been up to my eyeballs in marsh mud for most of the month, and for the month before that I was prepping.  
China Camp State Park.  Maybe my favorite site.

Ah, the field season.  The first day of the each sampling period, I’m always a huge stress ball.  By the time I visit my last site, I feel like Queen of the Marsh.  One thing I always do to minimize my first day jitters is prepare a packing list for each project I’m working on.  This helps minimize those “Oh crap, I left that sitting on the lab bench” moments.  This packing list is mostly full of project specific items (thermometer, pH probe, redox meter, etc.).  In addition, I have a mental checklist of things I never like to don my waders without.  These items reside in my trusty field bag, and today I’m giving you the grand tour!

I know we have an eclectic readership, from PhDs, fellow students, teachers, and amazing high school science enthusiasts.  Though you might not all be headed out to do field work anytime soon, I hope a look at my “must have” items gives you a taste for what a day in the life of a field scientist can be like.  Think of this as the field biologist’s version of those posts by lifestyle/mom bloggers about what they keep in their purses/diaper bags.*


Trusty field bag!
For Real Essential Things
Most of the things in my bag are things I find randomly useful, or things that keep me safe and comfortable while working.  There are a few absolutely, 100%, totally essential things in my bag.  All my official permits live in their own protective plastic baggie.  I’m not trying to become a marsh bandit, so I want to have proof of my officialness.  Next, for those just starting their ecology journey, field notebooks are your friends!  I have two, both made with write-in-the-rain paper (necessary).  You can even buy special write-in-the-rain pens that will write on the paper under water.  My former lab mate and I may or may not have spent a good 20 minutes doing this in the sink when I was gifted one of these pens.  Pencils work too, and you should have several!  Also, permanent markers.  Always, always, permanent markers.
Stuff to Keep Your Stuff Clean
In case you can’t tell by the state of my bag, I work in the mud.  Mud means water.  In addition, my muddy water is salty.  So, even though I don’t bring anything out into the marsh that I’m not willing to risk destroying, I like to take a few precautions.  A tarp allows me to place bags and equipment on the mud, not the vegetation, but keep them clean and dry.  I purchased that blue dry bag when Meridith and I were about to hike the Narrows at Zion National Park.  I usually keep my lunch in there, but it’s just a good thing to have on hand.  Occasionally, one of my undergrad crew will realize they tottered out on the mud with something electronic, and I’ll toss it in there for safe keeping.  On top, you’ll see my Lifeproof iPhone case.  I always bring my phone into the field with me for safety reasons.  Also, marsh selfie reasons.  I’ve been really happy with this case overall, though it does make the keypad a bit less sensitive and it can make charging difficult, depending on the charger.  Thus, I have a non-field case for daily use.  Apparently you can literally dip this case in the water and take phone pictures, but I just can’t live that life.  I think my camera itself also fits in this category.  I sport an Olympus digital camera.  This sucker is shockproof, waterproof, freezeproof, and dustproof.  Basically, Rachel-proof.  I bought an older version of the camera I have now when I broke my previous digital cammy by dropping it from a height into water.  I’d say each one I’ve purchased has lasted about 3 years.  Not trying to give a product review here, but that is three years of snorkeling, being dropped on the floor of canoes, hiking up mountains, and generally marinating in mud.  They aren’t the best cameras for capturing vibrant colors, but I’m still a huge fan.      
  

Safety and Well being Essentials
 

The next group of things living in my bag are there to keep my happy and safe during the whole day.  My Platypus hydration bladder was also purchased when Mer and I were on our road trip.  This system  makes it easier for me to carry enough water to actually stay hydrated all day.  A water bottle or two just doesn’t cut it for 7 hours of physical labor.  Sunscreen is also essential for a long day.  I usually have the lotion kind to apply first thing in the morning and the spray kind for reapplication when my hands are covered in mud.  It’s also a good idea to have a chapstick with sunscreen in it, as the skin on your mouth can easily get burned too! Bug spray, enough said.  Mosquitoes love me, but it’s not mutual.  The first aid kit I’ve put together is by no means extensive, but I think it has most of the essentials.  I love the spray antibiotic ointment (thanks Meridith’s mom!) especially.  It’s good for after you have a chance to wash off, usually in a gas station bathroom, and you notice all the wee cuts that were covered in dirt.  I also always have a headlamp with me, just in case.  The last, and maybe most awesome, thing isn’t pictured…because I thought that might be weird.  This is a lady specific item, called the p style.  Basically, it allows women to pee standing and without having to totally drop trow.  This is 100% amazing for me as I work in a system with zero trees, and my sites are often ringed by running trails.  Maybe you think it’s weird, but don’t knock it till you’ve tried it.  My sister, who hiked ~300 miles of the AT last summer, was gifted one by yours truly and told me it was amazing to be able to pee without having to take off her heavy pack each time.  You’ll thank me for this one day.


Things I Need Surprisingly Often
This is the category of odds and ends things that I often need, but I’m never really sure what I’ll need them for from one day to the next.  These are maybe a bit specific to my own work, so I’d love to hear from other scientists about the odds and ends that are always randomly helpful to them!  I carry a trowel for digging up things.  I also have a hammer, usually for banging PVC into the ground.  Spray paint is great for marking the ends of the PVC that show where your study areas (transects, blocks, etc.) begin and end.  White PVC seems so visible when you first put it in the ground, but when you come back months later and the grass has grown, and your PVC is dingy, a little red spray paint can really help you find things.  Rubber bands (or zip ties depending on what you have), extra ziplock baggies, tape (electrical pictured, but duct tape is awesome!), and a ruler are great things to have on hand.  I literally cannot even list all the uses of these items.  Last, I think every person who works in the field should own a good knife, preferably a multitool.  Seriously, so many uses!


On My Person (but sometimes in my bag)
Lasty, there are a few things that are sometimes in my bag, but usually just on my person.  I almost always wear a hat or a bandana.  I also generally have on polarized sunglasses.  Your retina can get sunburned too!  Additionally, polarized lenses help you see through glare.  Layers are essential as well.  Even in the summer I have a tank top, a light shirt, a long sleeved shirt (or sweater in the cooler months), and a waterproof layer.  Last, always always wear a watch.  You need to know when the tide will be coming back in, or how long till sundown, or how much longer to leave that instrument in place to get a reliable measurement.  A waterproof watch with seconds displayed will only cost about 20 bucks, and it’s totally worth it.
I’m not kneeling, I just have one leg sunk in mud up to my knee.
Shew, so you have gotten this far and you are now wondering “Holy crap, Rachel why do you carry around so much stuff?!”  True story, one time I got lost in the woods.  My little sister, my college roommate, and I went on a short hike that turned into a 15 mile hike.  It made an impression on me.  While lots of the stuff detailed above is to help me with my work, there are a few things that I now refuse to go without if I plan to be outdoors for more than an hour.  So, for those who maybe aren’t as obsessively over prepared as me, here is the Reader’s Digest Version of what I think must go in your field bag/day hiking pack.


Don’t Hit the Trail Without    
– Enough water to hike twice as far as you plan to go
– Several energy dense snacks
– A headlamp
– A watch
– A map
– A first aid kit containing at least a compression wrap for sprains and an emergency blanket
– Your phone.  Maybe you won’t have service, but maybe you will.


And there you go.  A full tour of the inside of my field bag!  I’d love to know what you keep in yours.  Any hikers or backpackers out there?  What do you refuse to venture out without?
* True confessions.  I adore both lifestyle and mommy blogs.  Sorry, not sorry.   

Ten Tips for Tackling that Thesis!

Meridith and Rachel are both in PhD programs, which means dissertation writing will be in their future.  While dissertating will come with its own sets of challenges, they have both managed to survive the process of completing a Masters thesis!  Here are the top ten tips and tricks (in no particular order) they used to keep sane, be productive, and come out the other side.  

1. If you haven’t been productive in 15 minutes, then it’s time to change locations.

R: First I got work aversion to my desk, then I got work aversion in the stats lab (luckily, after I was done with stats).  I finished writing by visiting (almost) every coffee shop in Long Beach for a few days in a row before I had to move on to my next location.
M: Can someone figure out how to fix the mutual exclusivity of working outside on a sunny day and being able to see your computer screen?


2. Lists are your friend. Make yourself a timeline.

This timeline should be specific and broken down into small component parts.  If it takes more than two hours to finish a part, break it down.  First, marking things off a list feels amazing. Second, it is way easier to procrastinate “write thesis” than it is to put off “write field portion of methods.”

Two of Meridith’s three amazing Thesis Besties! 

3. Find a thesis buddy that will sympathize with all of your complaints, bemoans, trials, and tribulations, but will still help you stay on track.

Make sure you pay this forward!  Having coffee dates with your thesis pal where you talk about what you’ve done and plan to do will help you actually do those things.  Having to look another human being in the face and admit “I didn’t do any of that.” is not fun.  Bonus point if this person has a dog.  Dogs make thesis writing way better.

4. Pick some upbeat tunes.
M:  This is my solution to many, many things.


Thesis buddy dog. Important.

R:  I wanted to give Pandora an acknowledgement on my thesis.
5. Schedule at least a short block of time every day to write.  Just write something every, single, day.

No further explanation needed.

6. Make time to cook in big batches or get right in your head about eating frozen foods.  It’s just going to happen.

R:  I tried to resist this for so long and ended up with a backlog of cabbage from my CSA box, because I had no time to cook.  This culminated in my arrival at the lab at 7am on a Saturday with a large mason jar full of cabbage juice…because that seemed like a good decision at the time.  That night I bought a huge container of frozen burritos, and it was pretty much the best decision I made that month.  
M: I went through a phase where my working location was in the student center…really close to the on-campus Taco Bell. I’m not proud, but I love bean burritos.

7. Communicate with your advisor.

We would highly advise having a recurring meeting time each week.  This is like having a thesis buddy x1000.  These recurring meetings will insure you keep making consistent progress.  They will also keep you from spending too much time in the tall grass.  You’ll still have to redo your stats section 3 times, just get over that now.

8. Save. Save often. And save files all in multiple locations.


This does not imply that you can save things all willy nilly.  You should just have multiple backup copies.  Make sure to save things with a meaningful name in a meaningful locations (ex: bad → on your desktop a file called “Thesis_ish”; good → Folder “Masters”, subfolder “Thesis Drafts”, file name “Thesis_full version_draft 3”).  We would recommend you save to your hard drive, to the cloud, and do some sort of external device that you keep in a separate location.  

9. Stay away from time-sucking websites.

There are lots of applications you can add to your web browser, and you can set these to block you from accessing these sites to varying degrees.

10. Find your mantra.

R:  Mine was, “All my tasks are accomplishable.”
M: I had a few, but “Graduation or Death” was helpful.


Post thesis defense!  For the record, tiny bottles of liquor were purchased by a member of Rachel’s committee.