There are a few things that I truly love in this world: science (obvi), my family/friends/cat, NAPS(!), and finding new life hacks that are both thrifty and eco-friendly. Don’t get me wrong, I like things that are thrifty or eco-friendly, but when you get the two together… These are usually little things or habit changes that I can pretty easily sneak into my normal routine. They make me feel positive about my choices and they make it a little easier for me to buy obnoxious (read: more expensive) organic kale. Win, win! Right?
Allow me to play Devil’s advocate for a moment. Our environmental problems are big, huge even. The impacts of our personal choices are generally small, potentially imperceptible. I get this. People who tell you otherwise are not being straight with you. So, why do I still make these small lifestyle changes in the face of all the facts? There are a couple of reasons. First, I think that over my lifetime my small choices can add up, and maybe that still won’t make a huge difference, but at least I can say I did my best. Second, I truly and strongly feel a cultural shift toward these choices in the population at large can make a big difference in the years to come. As we have seen so many times over the decades, a cultural revolution is the most effective way to make lasting change.
In an effort to shift our thinking toward an “environment first” mind-set, I’m going to share a series of these small eco-life hacks. Please let me know if you guys like these tips and tricks! By all means share them around, that’s the point. Also, feel free to speak up if there is a certain part of your life that really drains your wallet or your stores of eco-karma. I’ll do my best to focus on what you ladies and gents want to hear.
This first life hack is one of my favorites. It is quick, super easy, and will save you some serious pocket money in the long run. I speak, naturally, of making your own vegetable stock! I know, I know, there are about a billion (you can quote me on that) blogs out there telling you how to make homemade stock. But how many will give you a source citation to tell you why you should? Now, there is at least one. Essentially, by making your own vegetable stock, you are turning all the stems, cuttings, and bits of fruits and veggies you might otherwise throw out into a delicious and nutritious broth that can be used for a plethora of other kitchen tasks. You are turning your food waste into something! Good for you, that’s impressive and important. I think this quotation from a study performed by Parfitt and colleagues in 2010 sums up why pretty well. The U.S. statistics are equally embarrassing but I chose the U.K. statistics because they were quantified in carbon emissions (Note: Mt stands for metric tons).
“More recently, the Waste and Resources Action Programme (WRAP) has shown that household food waste has reached unprecedented levels in UK homes (WRAP 2008, 2009a,b), with 8.3 Mt of food and drink wasted each year (with a retail value of £12.2 billion, 2008 prices) and a carbon impact exceeding 20 Mt of CO2 equivalent emissions. The amount of food wasted per year in UK households is 25 per cent of that purchased (by weight).”
Yowza. Are you sold? Let’s take it to your wallet. When I don’t have time to make my own stock (which is really never, it’s usually just because I’m stressed and won’t even make time to wash my slow cooker) I generally buy this brand of vegetarian vegetable bouillon for about 3 dollars. Not bad really. But making my own is literally free, because I would be purchasing all those vegetables that provide the scraps anyway! And three dollars is enough to buy that bourge-y Buddah hand fruit that you’ve been wanting to try. After a month of stock making, you could even go see a movie you would otherwise have had to pass on attending. So there you go.
 On to the stock!
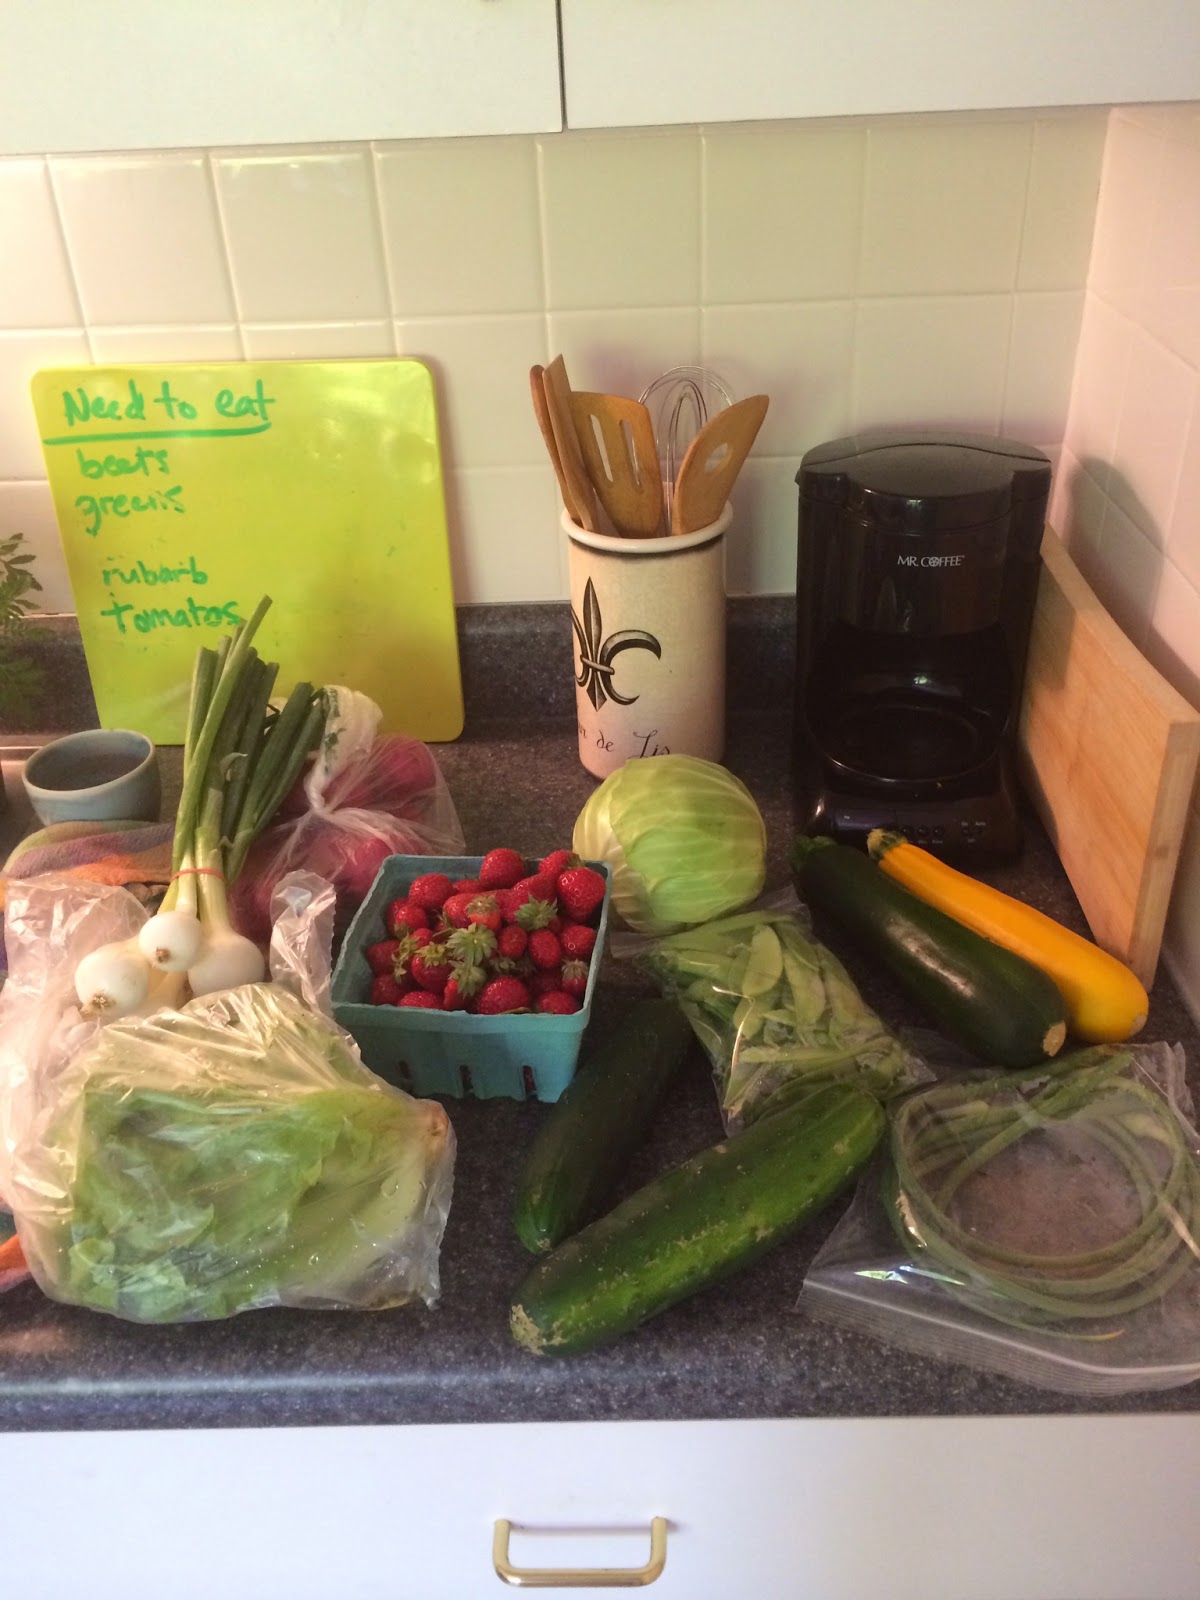
Step One: Collect your vegetable scraps.
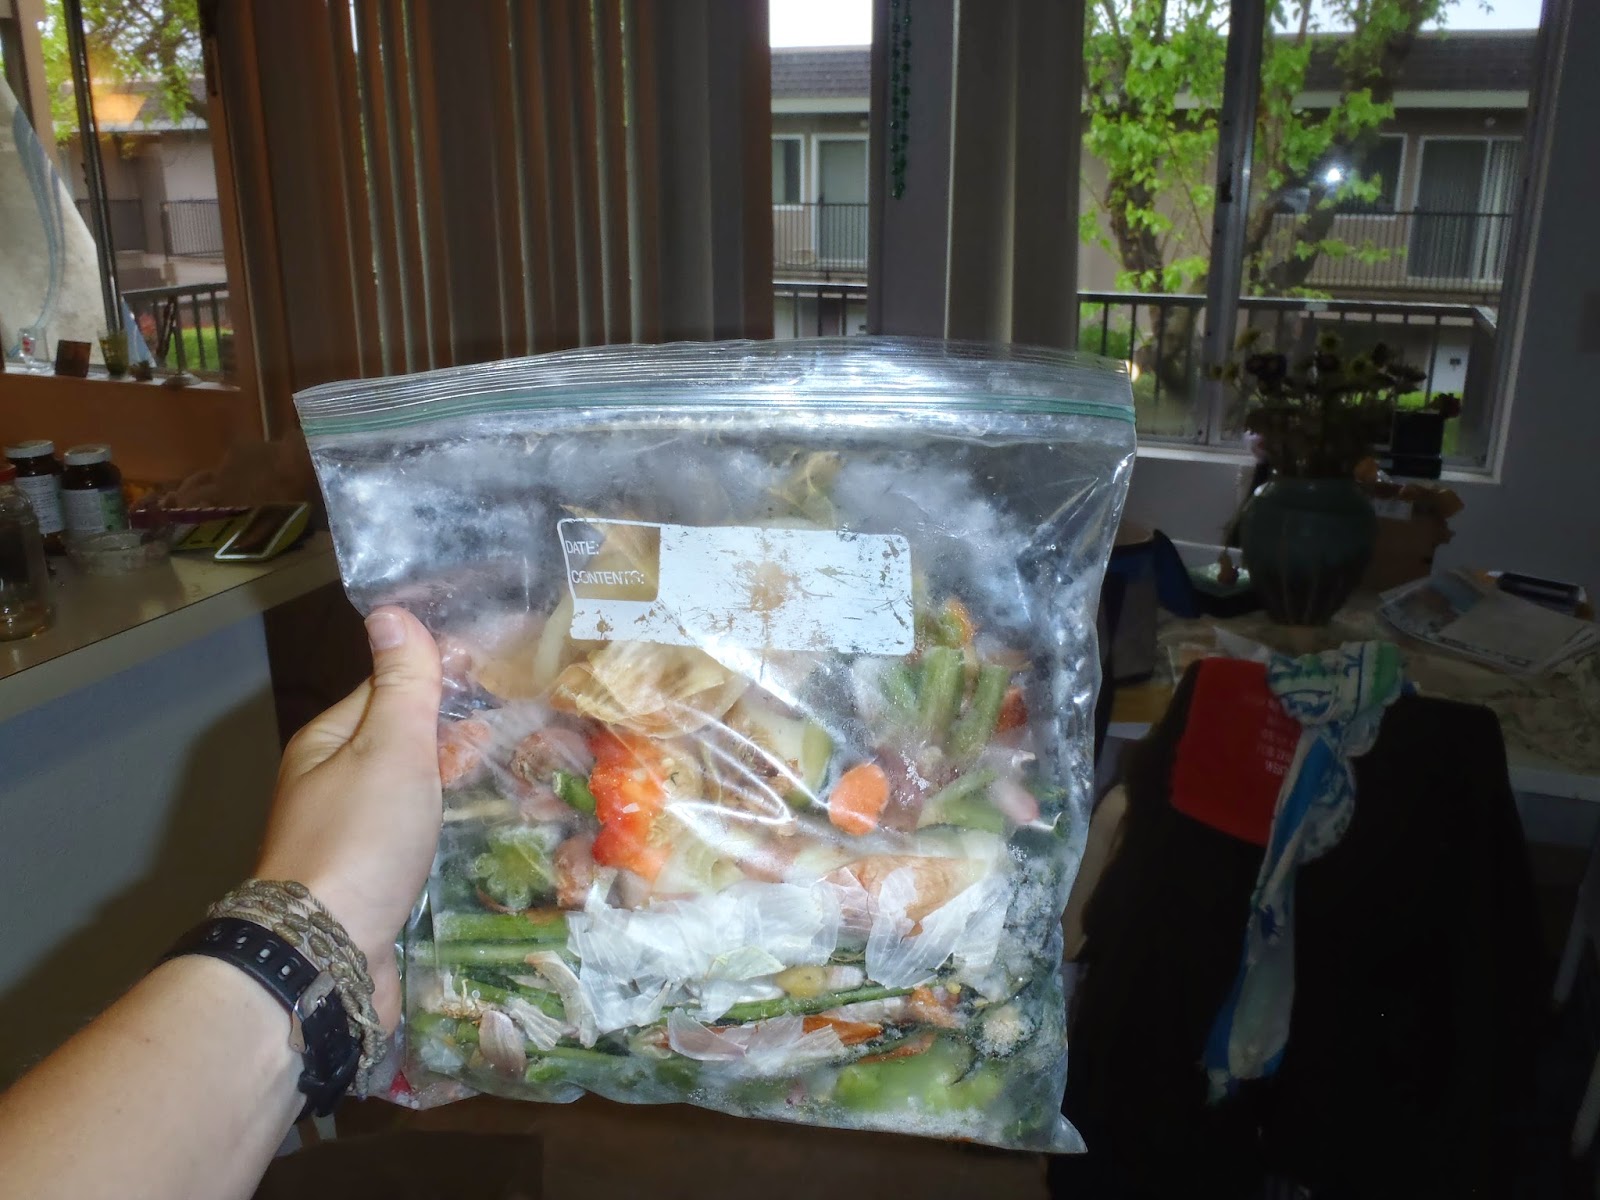
There are several ways to go about this, depending on how much produce you consume and how often you want to make stock. During the summer when I am a produce monster, I keep a bowl in my fridge and just toss all the scraps in there for safe keeping. During the other seasons, I keep a tupperware or a baggie in the freezer and put my scraplets in that.
Things that work really well: potato or carrot peels, stems of kale or other greens, skins of garlic and onion, tops of any root vegetables you don’t want to eat, apple cores, strawberry tops, lettuce stems, broccoli stalks, pulp from making juice, etc., etc.
Things that aren’t great: banana peels…this is the only thing that has been a big regret for me. Maybe this seems obvious to everyone else?
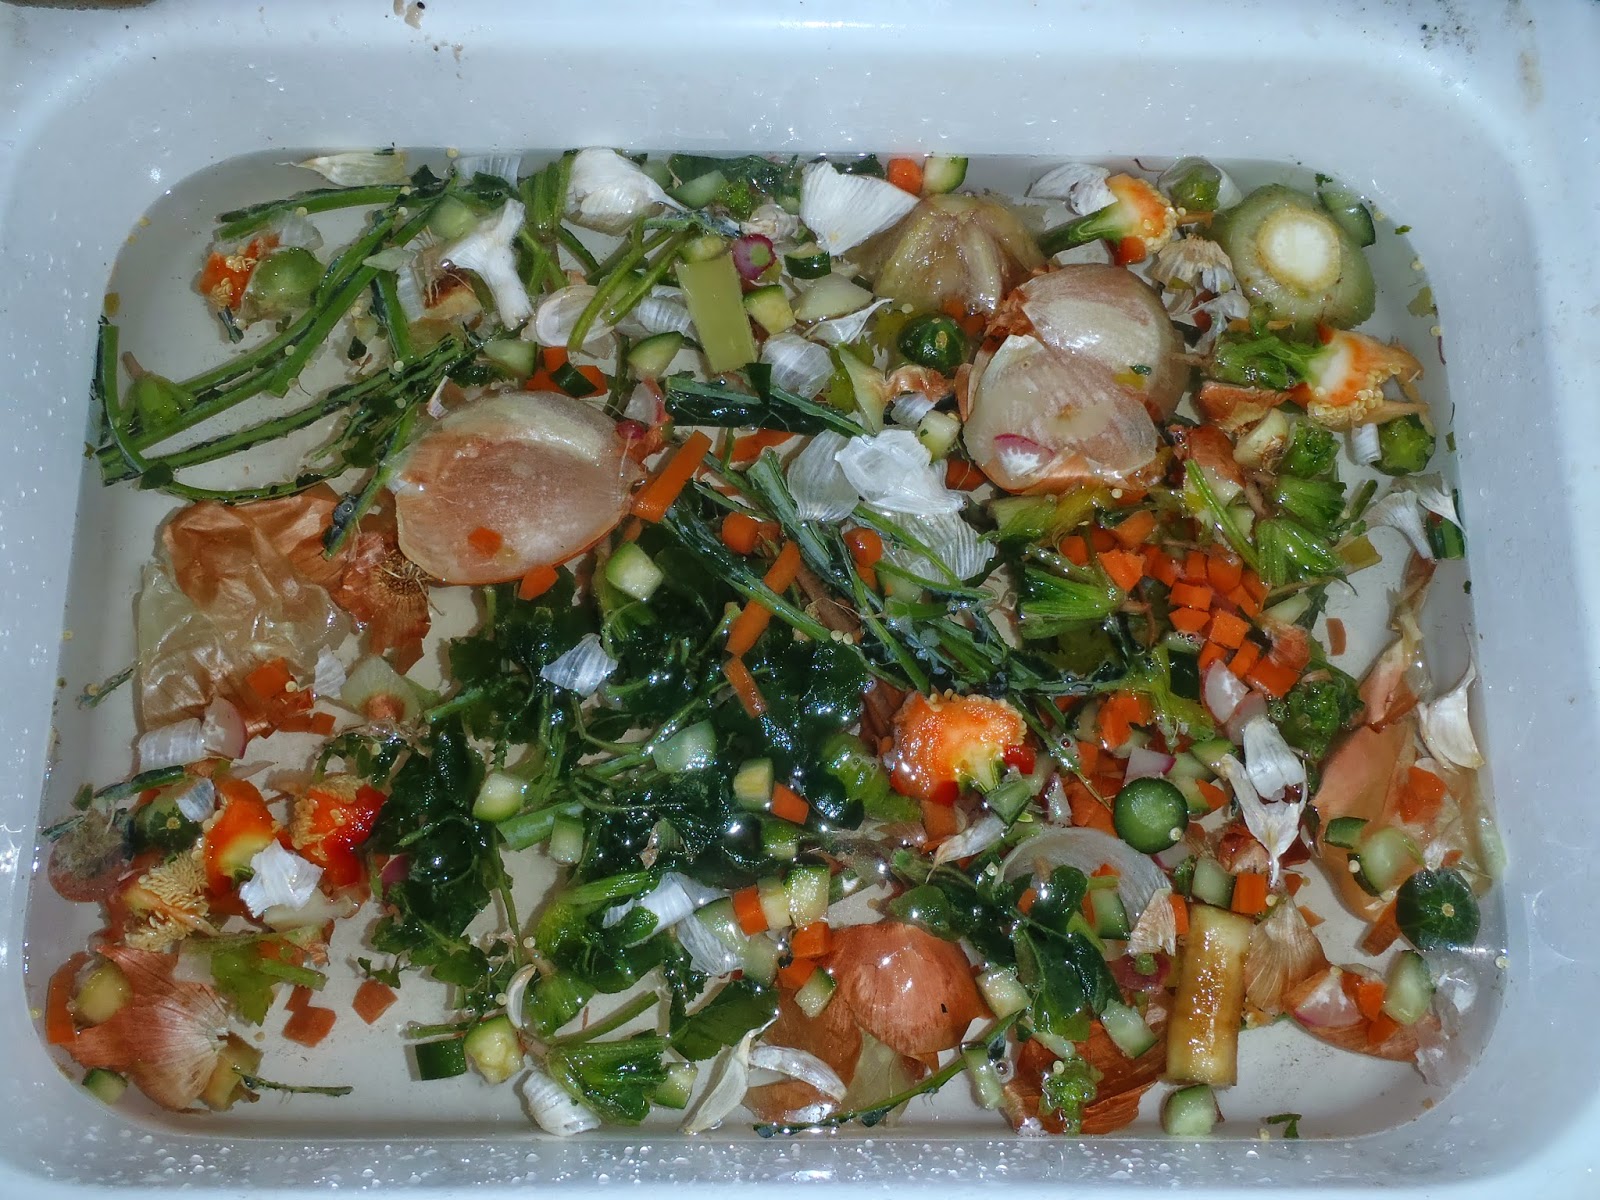 Step Two: Clean your scraps.
Once you have enough scraps collected (I use a full one gallon baggie), you want to wash them by soaking them in some sort of weak organic acid, like apple cider vinegar. This will help to remove any dirt, pesticide, or wax that might still be hanging around on your food. I think this step is particularly important because many of the scraps I use are the outer leaves of onions, garlic and carrot peels, and other parts that are particularly dirty or exposed. I tend to just dump my frozen veggie in the water and let them thaw that way. You can also let the bag thaw in the fridge overnight, but that just adds a step.
Step Three: Rinse your veggies well and put them in the slow-cooker
First off, you can just as easily do this on the stovetop on low heat, but that requires that you be in the house. I love using the slow cooker because I can put all my veggies in, set the heat to low, and go to work. When I come home, my house smells like food!
 You will want to add about 8 cups of water to the veggies in the pot. At this point, you can feel free to get creative. I usually add about a tablespoon of olive oil, some parsley, basil, crushed red pepper, rosemary, cumin, and a few bay leaves (bay leaves HIGHLY recommended!). You also want to make sure an add at least half an onion and a few cloves of garlic if those two veggies don’t feature in your collected scraps. They are always well represented in mine, so I tend not to add any extra.
If you are using the slow-cooker, you can now set it and forget it for about 8 hours on low heat. If you are cooking on the stove-top, I would just cook it on low heat for at least 2 hours. Let it cook for longer if you can stand it.
Step Four: Drain and store your stock.
Once you have cooked all the nutrient rich goodness out of your fruit and vegetable scraps, you want to strain the stock through a fine mesh sieve to get all the little bits of cooked veggies and spices out. I tend to pour off the majority of the liquid, then spoon the solid veg into the sieve and give it a little smash to get more of the good stuff.
You can store your stock in several ways. You can put it in jars and keep it in the fridge for immediate use. I do this with about half of the batch. The rest, you can freeze and save for later. Initially, I was measuring one cup servings into plastic baggies and storing the extra stock that way, but it wasn’t very user friendly and I hate washing out plastic baggies (because I can’t just use them once!). Now, I freeze it all in ice cube trays and transfer them to a bigger container once they have frozen through. This allows me to easily customize the amount I can use from the freezer. If I just want a little bit to saute some vegetables in, I’ll get out one cube. If I need several cups, I will take out a bunch of cubes and melt them in the microwave or on the stove top. If I over shoot and have taken out more than I need, I just stick the extra back in an ice cube tray. Easy.
As for your now mushy vegetable scraps, they have lived two lives and have served you well! You can either trash them or try to find another use for them! Any ideas? I have a few that I am working on as we speak. Compost is the most obvious. Maybe you’ll hear about them soon.
And there you have it! A eco-life hack that could equally serve the broke college crowd or the young professional trying to make the world just a little bit better. Hint: You can easily be both those things at once. Remember, if you want me to try and hack your life, or just a certain part of it, let me know in the comments! I’ll do my best to oblige.
Literature Cited:
Parfitt J, M. Barthel, and S. Macnaughton. 2010. Food waste within food supply chains: quantification and potential for change to 2050. Philosophical Transactions of the Royal Society 365: 3065-3081.


