Winning Your First Professional Conference

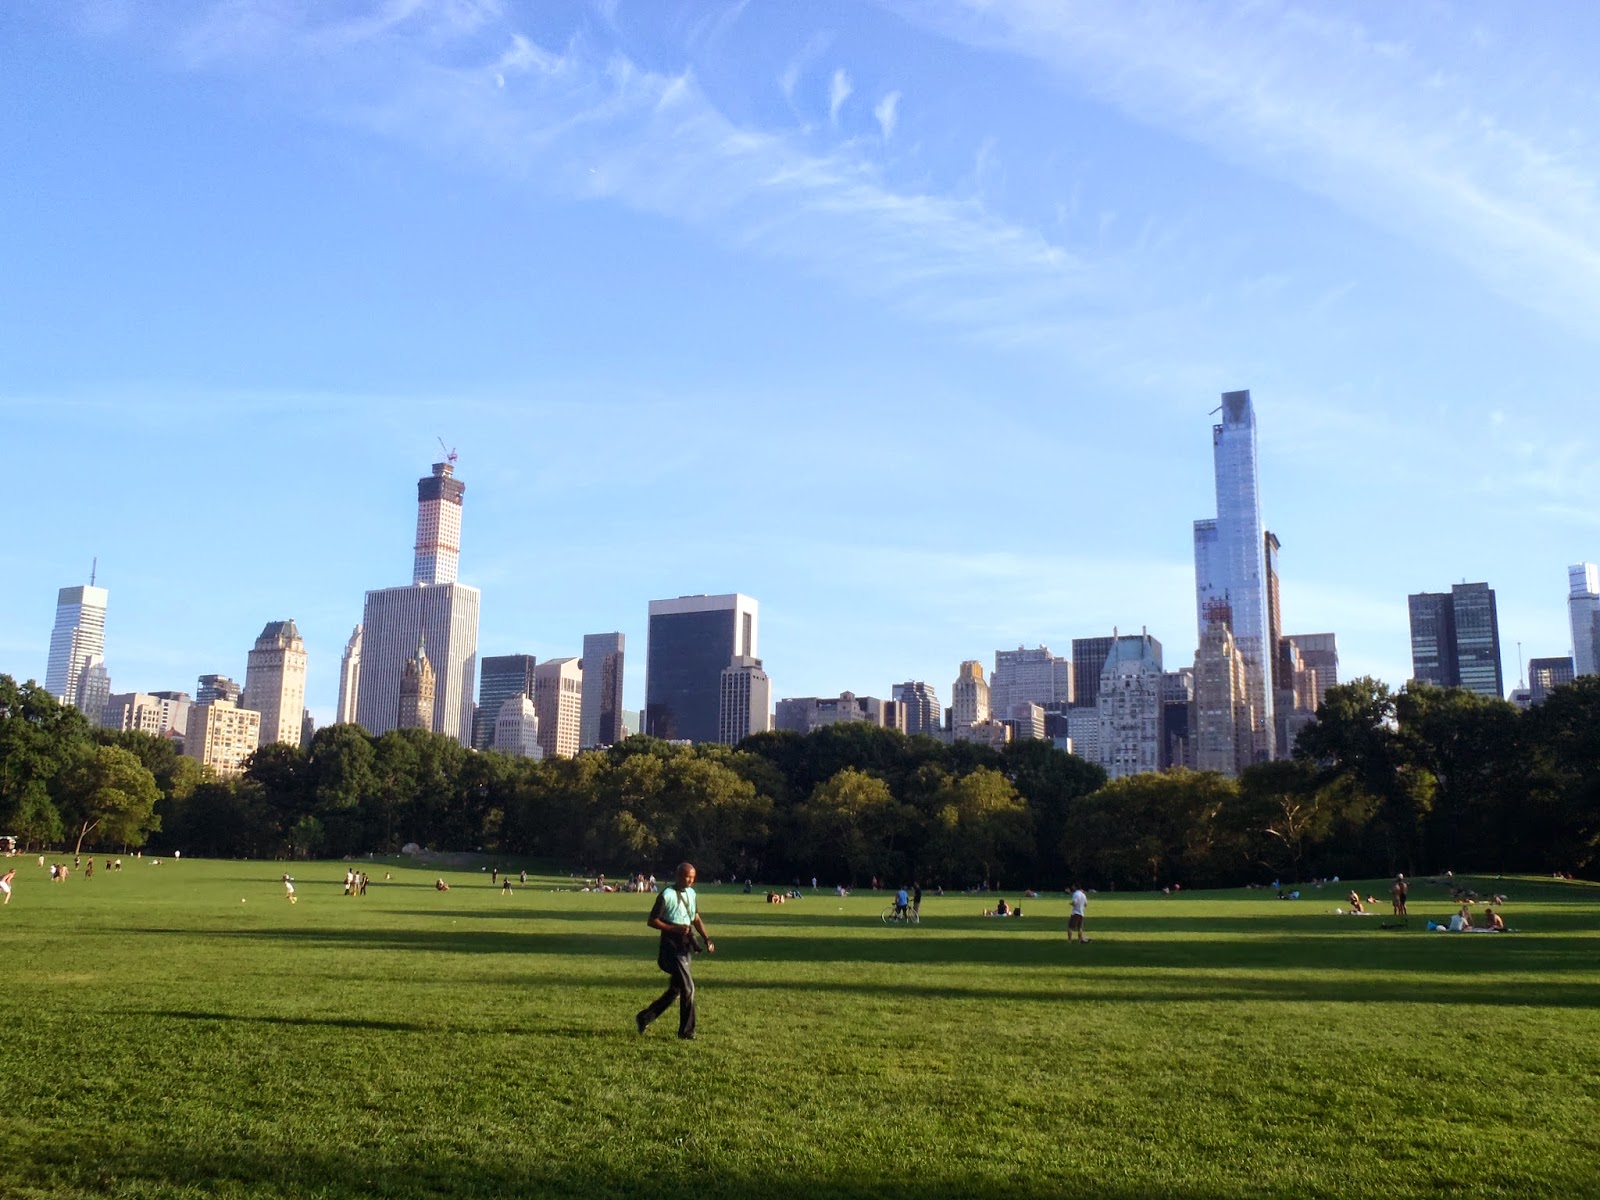
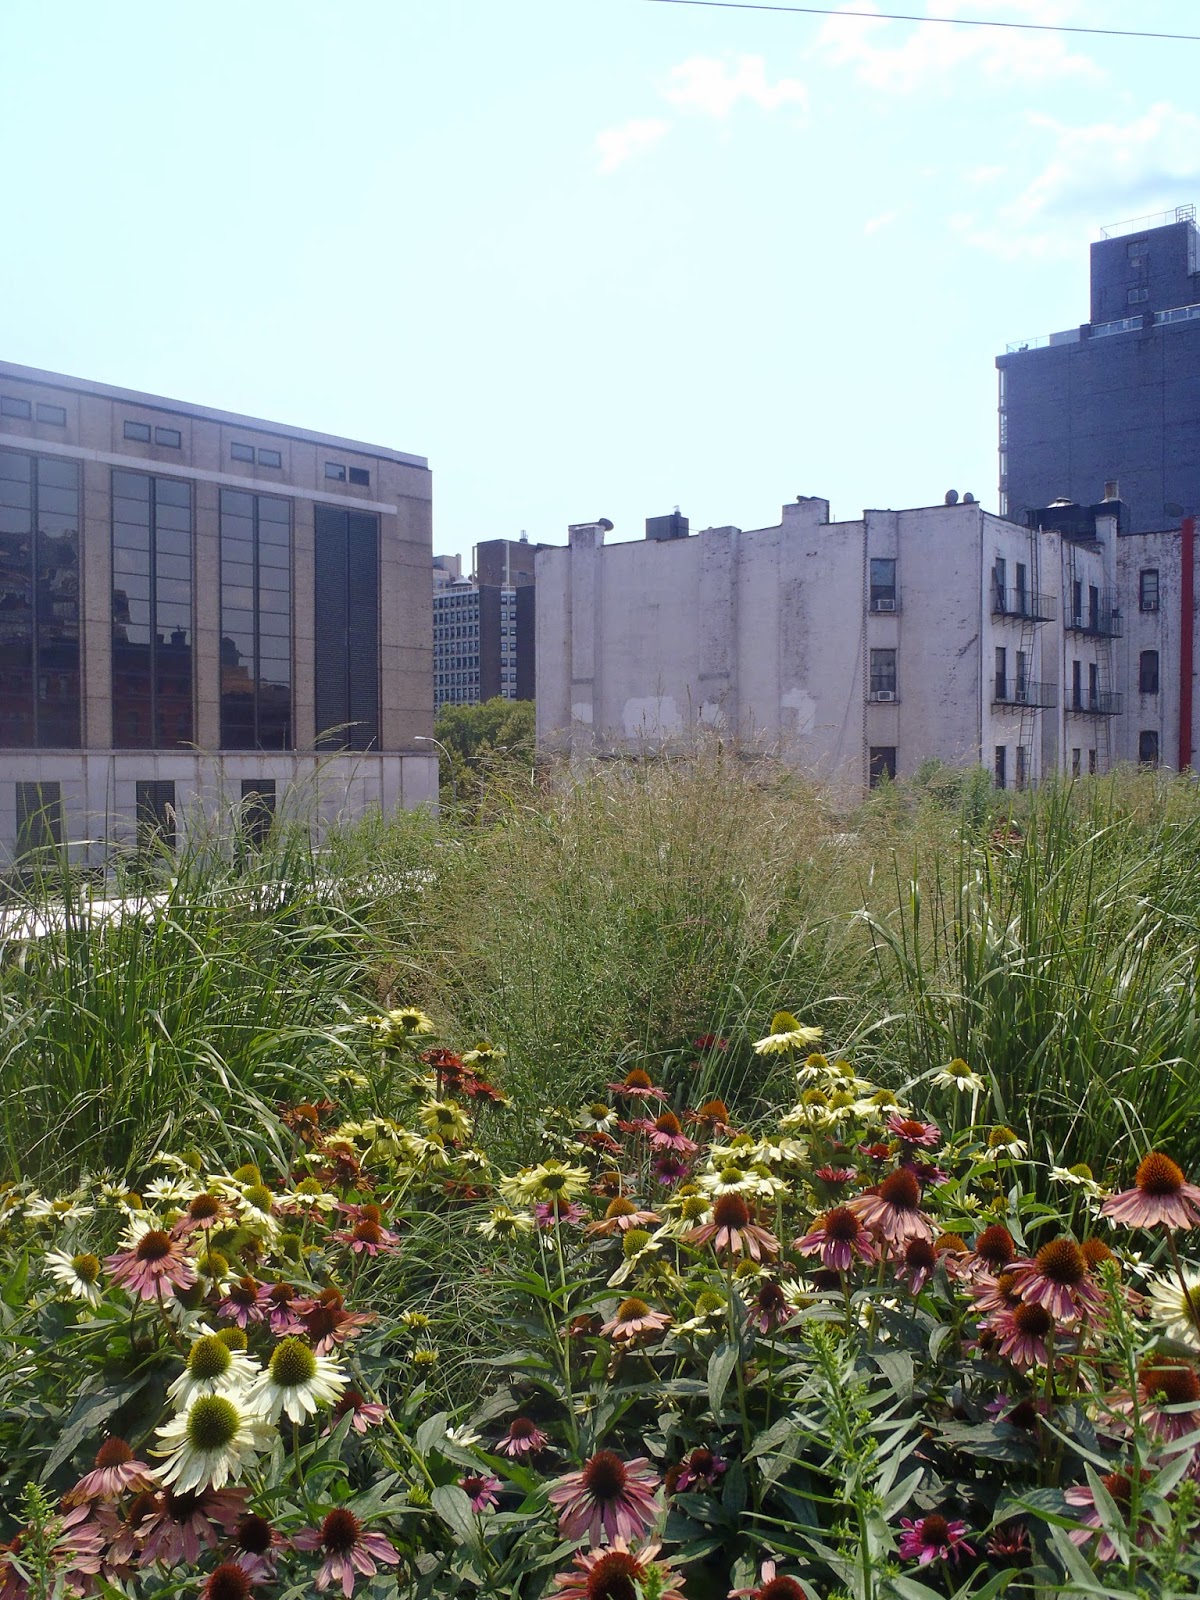
If you’re in Portland for a conference, you should
probably go hike at Mt. St. Helen’s
Hello September!  Can you believe it?  I know I can’t.  Classes are ringing back into session all over the country, and most people are gearing back up after the summer.  For me, September is going to be a month of getting things back in order after a really intense stretch in July and August.  I wouldn’t say I’m gearing down, but without vacation, 8+ hours of manual labor, or time sensitive lab samples to deal with, I’m hoping I can refocus and reorganize.  One project I’m giving special attention this month is updating the analysis of chapter two of my Master’s Thesis, which I will be presenting at a conference in October (and submitting for publication before the end of 2014…I think I can…I think I can…). (Editor’s note: I know she can!) Professional conferences are very helpful as benchmarks for your research.  They give you something to work toward in the short term, and they also provide a great forum for research in progress (either in progress of collecting data or analysing it).  Aside from this, professional conferences are great opportunities for loads of other reasons, which are completely applicable for those who don’t have research to present yet.  If you are gearing up for your first conference this fall, or if you are on the fence about the usefulness of attending, here are my thoughts on how to get the most out of your first academic conference.    


Don’t let cost be an issue.  Conference registration, travel to the venue, eating while you are in town…  The costs of attendance can add up fairly quickly.  However, this is absolutely not a reason to not attend a conference.  First things first, look around for someone willing to give you money!  Apply for grants through your department, college, office of scholar development, or the conference itself.  All of these places are very invested in developing the next generation of researchers (that’s us!). These grants can go to cover the costs of registration, or you can apply specifically for travel grants to cover transit costs and lodging while you are there.  Are you part of a lab group?  Don’t be shy, ask your PI if they are willing to give you some funding to attend the conference.  They might not be willing to cover all your expenses, but they are invested in your success and want to help!  At my first conference, I carpooled to the venue and shared a hotel room with my PI, and she kindly covered these costs.  Finally, sign-up as a student volunteer.  Most big conferences really count on student volunteers to make things go.  Who do you think works the registration desk, the information booth, and is there to call the IT people when a projector stops working?  Often, these volunteering positions aren’t an easy ride (think ~15 hours throughout the conference), but they will result in a comped registration fee.  I’ve done this a fair few times, and while it isn’t my first choice way to get to a conference, it’s totally worth it.  


As a student, you also have to learn how to do things for cheap.  Set your budget for how much you can spend at the conference and stick with it!  Personally, I’ve slept 5+ people to a hotel room, picked up some PB&J supplies at a local store, and even Couchsurfed by way through the conference week.  As long as you show up in your business casual attire, no one is going to know where you slept or where you bought your lunch.


Once you’ve made it to the conference, don’t forget to pace yourself.  It’s always a good idea to scope the conference schedule in advance and pick out the talks and posters you really need to see.  However, it’s also super easy to get excited (Wait?  There are other people out there who care about the impacts of invertebrate grazing on invasive plant productivity?!) and schedule yourself to death!  Generally, there are a number of speaker sessions running concurrently,and you can easily get yourself scheduled to the point of running from room to room every 20 minutes from 8 to 5.  At that rate, you will be pooped by day two.  Prioritize, be flexible, and don’t be afraid to just take a break!
 
Get an academic wing-person.  Especially if this is your first conference, try to find a more senior student who has attended before and shadow them.  Don’t be shy, they seriously won’t mind.  Everyone remembers being the new kid in the room and how overwhelming that can be.  This person will tell you which mixers are worth your time to attend, introduce you when they know someone, and invite you to lunch so you don’t have to eat your PB&J alone.  In the absence of an experienced friend, having anyone to double team a mixer or a poster session with is a great idea.  It’s way easier to approach a group as a duo.  Additionally, if you’re shy like me and have an outgoing bestie like Meridith, you are basically hitting the wing-person jackpot.


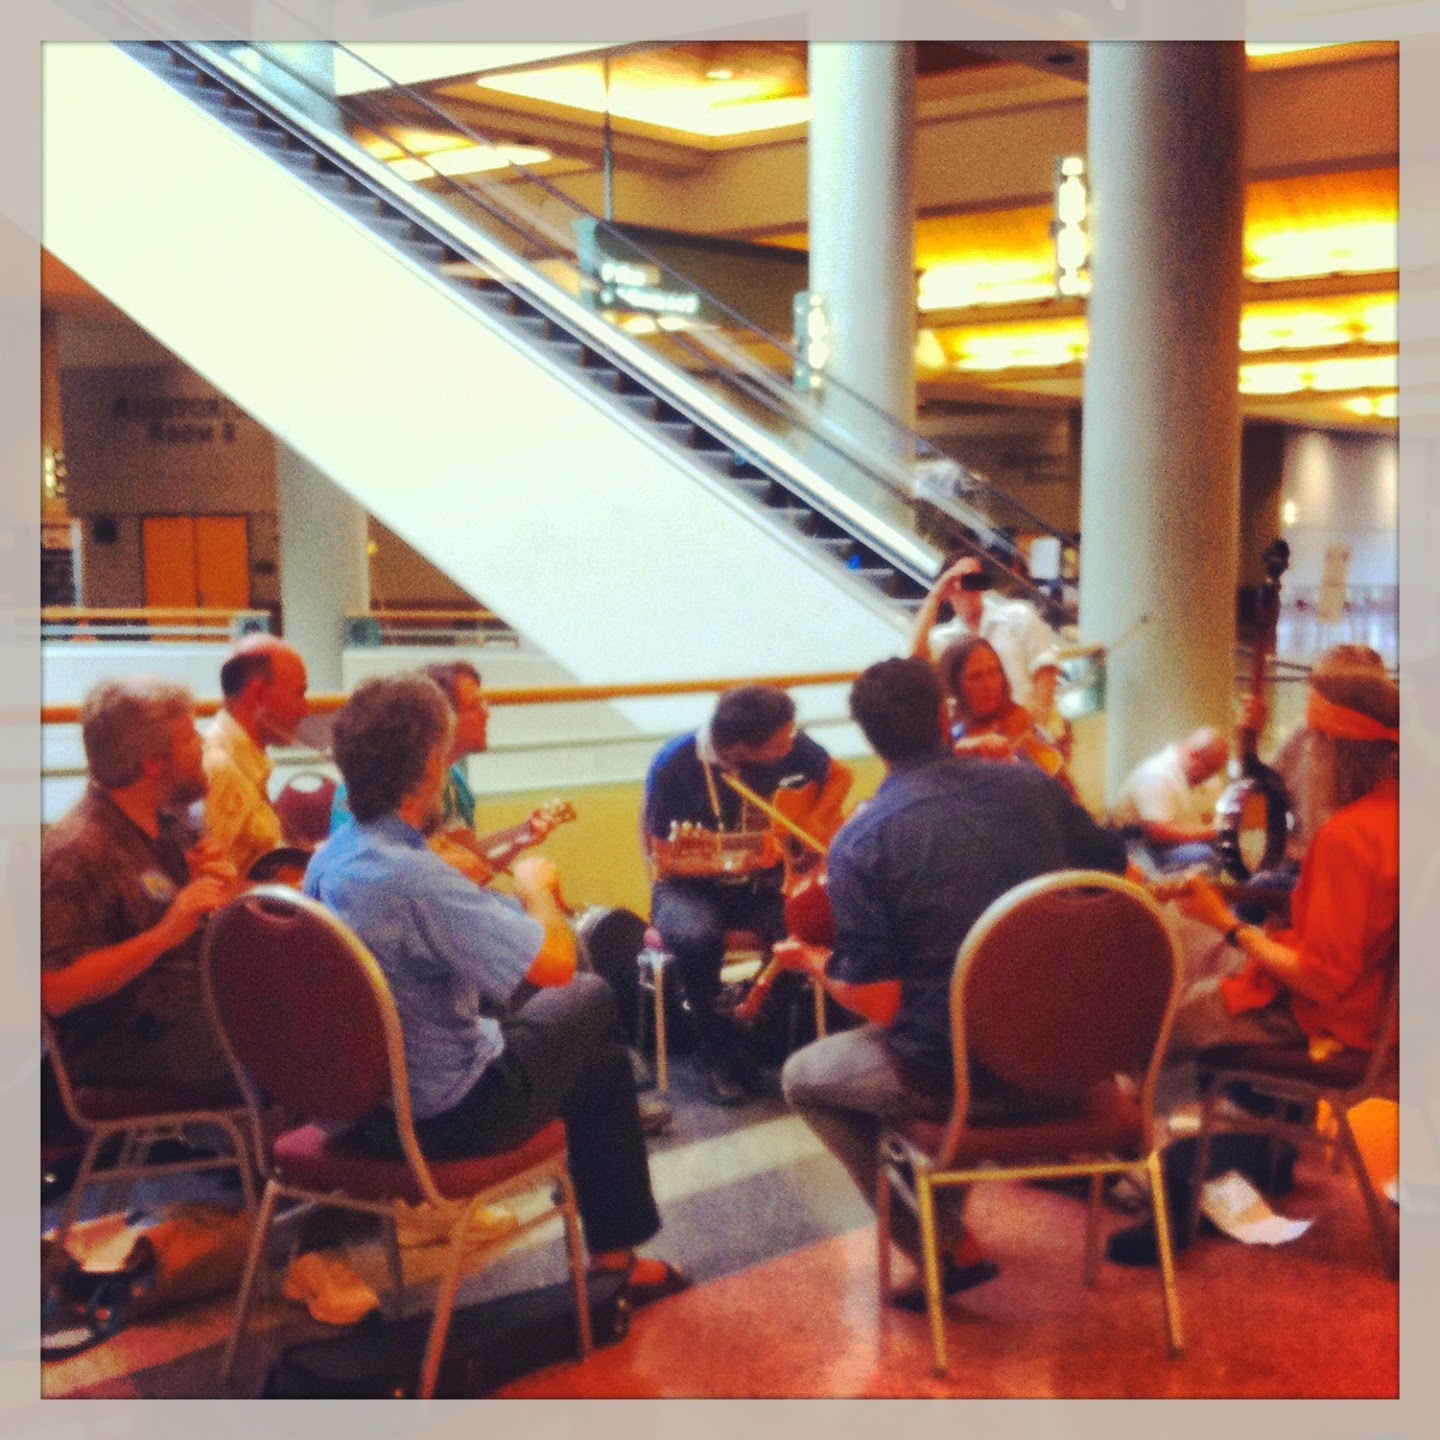
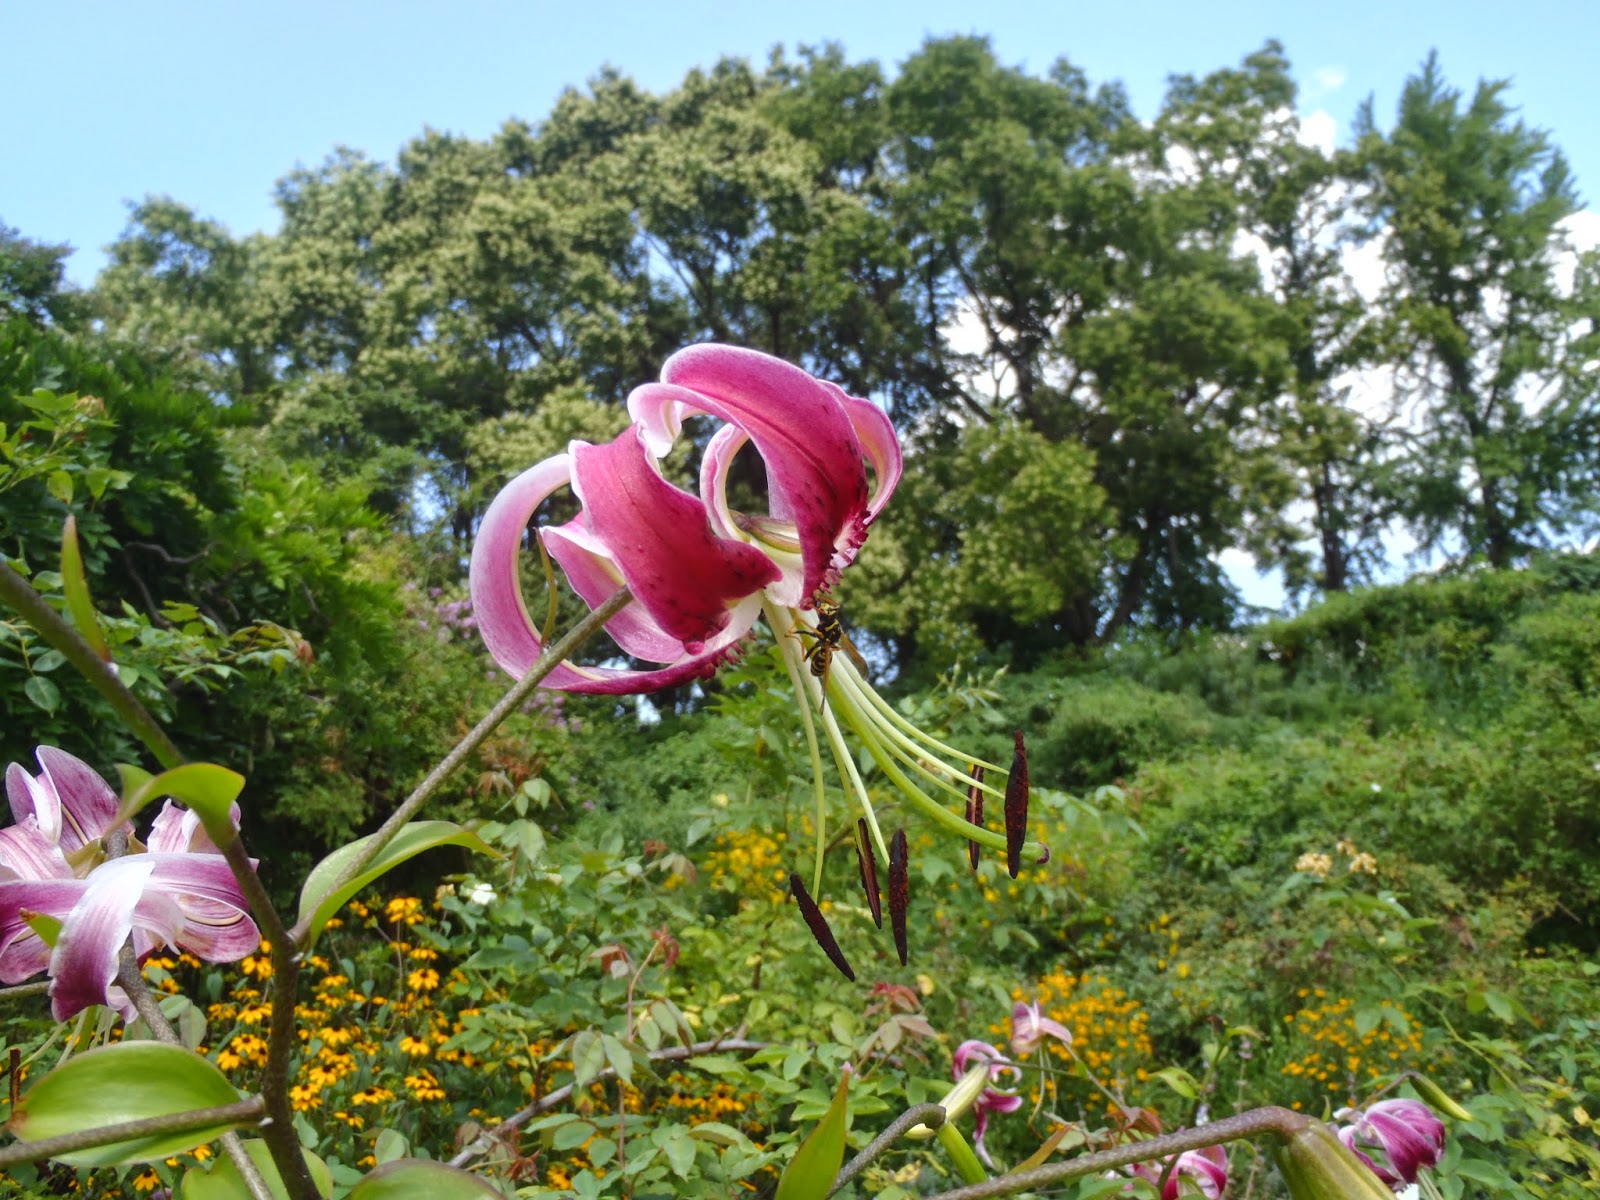
Jam session outside the poster session.  An ESA tradition
and an informal networking opportunity!
On the subject of mixers, when you’re at a conference you need to embrace cocktail hour.  Do you have to drink?  No.  Do you need to go to a mixer or a bar, probably.  Informal interactions with peers and senior researchers are not just going to fall into your lap.  You have to seek them out.  Let’s be honest, walking up to a person who does work that you respect is stressful.  Heck, being that person that everyone wants to talk to is stressful (I imagine).  Having a beer helps the social anxiety.  And, let’s just get this out there, networking is necessary.  You come to a conference to see the latest research and techniques in your field.  Beyond that, and perhaps more importantly, you go to conferences to expand your professional network.  As a reserved person, I will quickly tell you that networking is the literal worst.  Luckily, there are ways to make it more manageable and enjoyable.  


First, we will assume that cocktail hour is 100% not your thing, or you want a more structured networking experience.  This is where the internet stalking abilities of the modern world can be harnessed to your advantage.  Look through the conference program and identify people you want to meet.  Now, Google them, get their email address, and drop them a line!  Tell them who you are and why you want to meet with them and set-up a lunch/coffee meeting.  Alternatively, you can try to catch them after their talk and set-up this interaction.  Second, set goals for your networking.  I got the most amazing tip from one of my conference wing-people last summer at the Ecological Society of America (ESA) conference.  He told me that at each conference he just tries to expand his network by 6 people.  In other words, he practices quality over quantity.  Six people who you think you could actually email after the conference is likely more useful than cards from 20 people you met at a poster session.  Last, don’t be afraid to expand the networking experience to after the conference is finished.  Did you see an amazing talk, but couldn’t catch the speaker after the fact?  Stalk that conference program and shoot them an email.  I always try to remind myself that when I am at a conference, I’m with a group of people who I already have a lot in common with, and that makes all these social interactions seem much less intimidating.         


Present something or at least be ready to present yourself.  Having conference presentations on your CV is so helpful when applying for graduate school, grants, and fellowships.  Talk to your PI and ask if there is any data she has that could use a first pass at statistical analysis.  This is good for everyone involved!  Your PI gets a co-authorship on a presentation by a student and their data gets at least a cursory looking over.  For you, the experience of analyzing data and adding the presentation to your CV is great!  Plus, in those awkward networking moments, talking about what you brought to present is super helpful.  Bonus point for putting your Twitter handle or website on your presentation. Twitter is the water cooler of academia at large (or that’s what they are saying on Twitter), so be ready to inter-network (ha!). Not into the idea of a presentation?  At least be ready to present yourself.  Have your elevator pitch ready.  Who are you?  Where are you from?  What is your academic standing (undergrad?  grad student?)?  What are your interests and goals?  Plan it out before you go so when you are on the escalator making small talk with Mrs. Hot-shot-researcher she remembers you as well spoken and enthusiastic!    
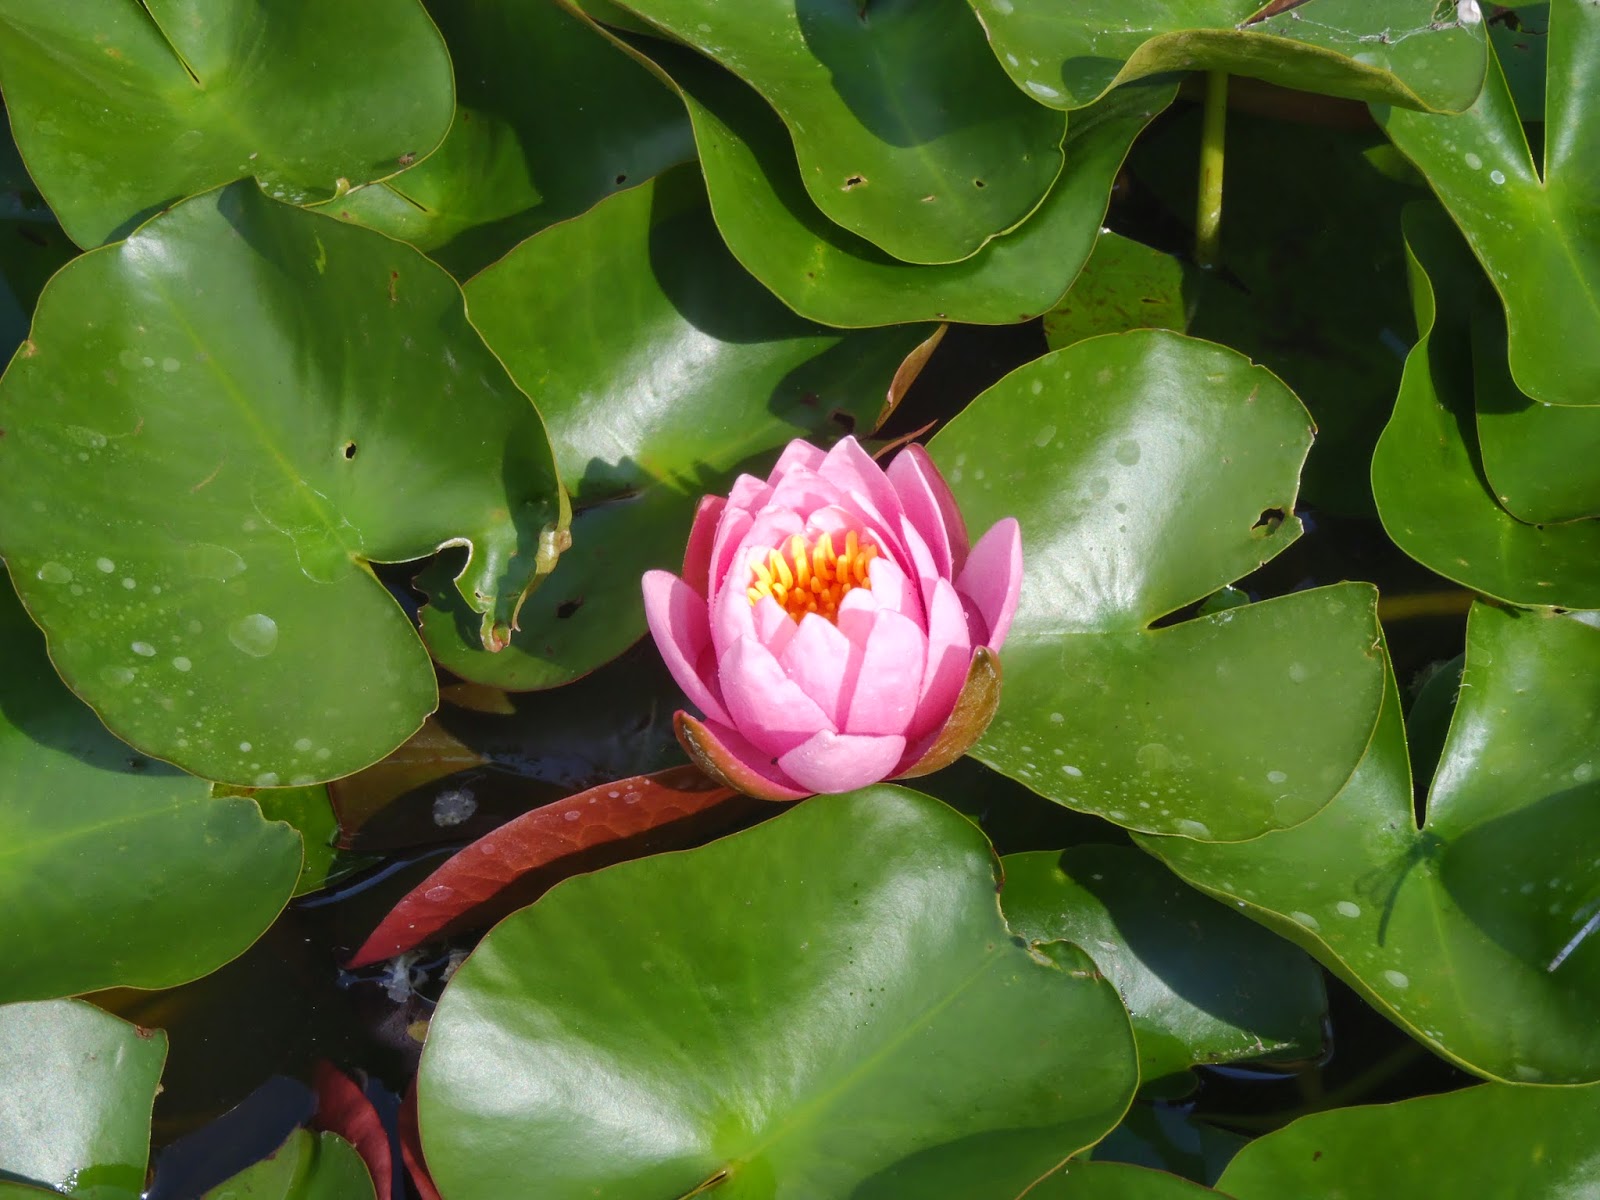
Tall grass prairie restoration tour!


Last, don’t forget to explore!  Often, conferences equate to traveling to a new city, state, or even country!  Sure this is a professional opportunity, but it’s an opportunity for personal growth as well.  See the sites, check out the local nightlife, and go for a hike at the nearest National Park.  ESA 2014 was near the college where a friend of mine earned his undergraduate degree.  He arranged an amazing trip for a bunch of us to see a huge prairie restoration that he worked on while studying at the college.  One of my favorite memories from ESA 2013 is going to an 80s dance party with Meridith to find that the club’s floor was on top of ball bearings.  Much bouncing and singing-along ensued.  And there was plenty of time for more science the next day.   


So, there you have it!  Those are my conference going tips, but in the big scheme of things, I’m still a newbie.  I would love to hear tips and tricks from others!  Let us know in the comments below!

Fiscal Responsibility feat. Sweet Graphs

Back in April, I took a big step towards being a Real Adult and started my own budget spreadsheet. After just the first month, I was completely shocked at how much I was actually spending (read: THAT much on dining out?!) Now that I’m heading back into the tight grip of grad schooldom, I know that I need to prepare myself for the grad school lifestyle. Which, of course, means living within my means. My first step in this preparation process was to create a budget spreadsheet for myself. I’m a big believer in ‘knowledge is power,’ and had to embrace that mantra to keep my head up while working on this project.

I started in Excel with two of the provided templates: College Cash Flow and Monthly Home Budget. Both templates provides you with a file already outfitted with calculations to auto-fill the green boxes based on data in the yellow boxes. In the College Cash Flow file, you input your starting money on hand and monthly expenses by convenient categories likely to be used by college students (e.g. books, tuition, etc). Your total income, expenditures, cash flow, and ending balance are automatically calculated for each month. The Monthly Home Budget sheet performs a similar task, but on a shorter time scale. You also have an opportunity to compare your actual income/expenses to budgeted ones. Together they are both useful, but I found that with a little extra work I could create a more interconnected, useful budgeting tool, complete with visuals.

I wanted to know more about my individual purchases in addition to total monthly charges, so I added a section to the Monthly Home Budget sheet at the bottom where I could input each individual purchase with Date, Cost, Type, and Notes. I found that having to record each transaction separately also helped me stay aware of my spending as the month progressed. I have Office 2008 for Mac on my computer, so everything I mention subsequently will be specific to that version of Excel.The major amendments to the spreadsheet templates are as follows:

  1. I wanted to have a drop down menu of categories for when I input individual purchases, to eliminate the possibility of typos. This was more an issue of formatting than coding. 
  2. Screenshot 2014-05-21 21.28.05.png
    May was a pretty cool month. I was much more conscious of what I spent even after a month of keeping track and budgeting.
    1. Highlight the boxes where you want the drop down list.
    2. Data -> Validation
    3. Allow: Select “List”
    4. Source: highlight the categories from the Variable Expense section
    5. Okie doke. You can also copy/paste this format into other cells.
  3. Next, I wanted the “Actual” cost cells in my Variable Expense column to automatically update from my individual transaction list. But that meant that each categorical cell would only update with it’s specific type of expense.
    Let me reassure you, this was not too difficult at all! And I felt like such a badass every time I figured out a tiny little thing. 
    1. In the Actual column next to the first category (household) type “=SUMIF(“
    2. Highlight “Type” column then insert a comma
    3. Click the category name then another comma
    4. Highlight the expenses column and end parentheses
    5. Repeat steps for each category/type (e.g. household, groceries, gas, etc.)
    6. Now that the Variable Expense Actual cost cells auto update, I changed the color to light green.  
  4. I wanted my monthly expenses to automatically be filled in on the College Cash Flow sheet. In hindsight, I could’ve made this a little easier on myself by rearranging the “Expenditures” list to match the ordering on the Monthly Home Budget sheet. 
    Oh man, Meridith, there’s not much going on here. Are you going to release a template for everyone. Maybe. Just maybe. 
    1. I started in April, so I would’ve gone to that month’s column in the CCF sheet. Clicked on the cell that matches up with the Household Costs row.
    2. Entered =’April Budget’!$C$55, where April Budget is the name of my Monthly Spreadsheet for April and C55 is the cell where my Household Variable Expenses are totaled. 
    3. Some expenses on the yearly sheet, like utilities, may be broken down into more specific categories on your monthly sheets. You can use =SUM() to compile those cells. 
  5. I love visualizations. I wanted to see these data represented so I could see, at a glance, where my spending was occurring. Where are the sweet graphs?! Missing?!  No sweat, I just had to make my own. I had a pie chart of my variable expenses on my monthly spreadsheets. I kept the fixed expenses off because huge costs like rent would just overwhelm the graph. 
    Can you tell I like food?
    1. Highlight “Variable Expenses” and “Actual” columns
    2. Insert > Chart > Pie > whatever the most basic one is
    3. I also did a similar pie chart for the yearly sheet using the “Expenditures” and “Yearly Totals” columns.
Celebrating my time in Newcastle the proper
 way – dancing my heart out. 

Ahhhh, fiscal responsibility and organization. You really can’t beat it. Don’t be afraid to try your own tweaks to the budget sheets. I’d love to hear your insights. The important thing is that you’re staying aware. I’ve known many a young lad and lassie who just wanted to ignore their financial obligations and responsibilities. Your twenties are not for mistakes and frivolity! Ok…they are a little bit. I’ve mistaked and frivoled. But I’ve also been conscientious of long term savings, and because of that (in addition to supportive parents and lots of living at home) I’ve been able to do some really frickin’ cool shit! After completing my Master’s degree I moved home, worked for a few months, bought a plane ticket, packed a bag, and left for a completely wild 90-day, self-funded, solo adventure through Europe. I had zero responsibilities. Minimal worries about my funds. And all of the funs. All of them! Sure, it meant watching my money closely during my time in New Mexico. I rarely went out and spent money on beers and food. I lived with roommates with ridiculously cheap rents. I nearly never went shopping for clothes. But it was all completely worth while when I landed in Dublin and immediately had adventure after adventure!

I’ve been looking into what other things I can be doing to be extra responsible with my finances. I’m not anywhere near 40, but this cool article has really inspired me to think about awesome next level goals I can set for myself. I’ll be studying for my PhD for the next five years, and while that comes with a stable stipend, it’s not the same as having a job with a 401K and retirement plans and all of these other benefits that I’m mostly clueless about. If you are looking into other ways to keep yourself in check with your cheques, then you might want to consider the many financial apps available. SciFri has a lovely podcast on them. You know how much we love podcasts. I have friends that also swear by the cash envelope system. Each month you take out the budgeted amount of cash (lump sum or broken into categories) and that’s all you have for the month. You run out…tough cookies.

If you’d like more money saving tips throughout the week keep an eye on our STS Tumblr for extra posts. We’ll share different articles and our own personal insights on how we live on the cheap! We also want to hear about what’s your method? Any super awesome money life hacks that we could benefit from? By all means, let us know! 

The Science Side of NYC

If you follow us on Tumblr, then you know I was away from my post at the beginning of August.  I traveled from the West Coast all the way over to New York City, New York to celebrate my engagement to that fella’ to the left.  I won’t take you through the blow by blow, but spending a lot of money on a ring just wasn’t our cup-o-tea.  Instead, we saved up and went on an adventure together to celebrate!  First, this is a decision I highly recommend because, hello, vacation.  Second, I hope you know I couldn’t go anywhere, even the maze of NYC, without scoring some science.  I know this city is just full of everything, so don’t consider this even close to an exhaustive list.  I would love to know about any of your favorite NYC science scores.

View from the Staten Island Ferry  

Most of my city going experience has been out west and in Chicago.  So one really special thing, for me, about seeing such an old city was the architecture.  I love that you can see a completely modern building with modern building materials and techniques right next to a church built in 1846!  Just look at that skyline.  You can learn by observation about changing technology as you look from the short, stone buildings to those shiny skyscrapers.  I’ll make my first tourist aside here to state that the Staten Island Ferry ride was both free and awesome.

Trinity church

You really have to admire NYC’s commitment to green spaces.  In such a densely populated urban center, I kept coming across parks, community gardens, and even an ecology center right on the walk home to our apartment.  The first park we really took the time to explore was the cemetery at Trinity Church.  Cemetery you say?  Yes.  Before the care and organization of public parks was formalized, cemeteries (or “memorial parks”) were some of the first public green spaces.  It was nice to see such a historic green area right next to such a historic building.  Some of the headstones were so old the inscriptions had completely weathered away.  

Graveyard at Trinity Church

Graveyard at Trinity Church

 From the oldest type of park, to one of the most famous.  Central Park was amazing.  It’s sheer size.  It’s location inside this huge metropolitan area.  It’s an impressive feat to be sure.  In the name of honesty, I have to admit that I was underwhelmed.  Maybe I was just tired, or maybe it was just that nothing was really in bloom when we visited.  Either way, I am fully prepared to be amazed by Central Park on my next visit (maybe during the fall season?).    

Central Park

You know what I was wow-ed by?  The American Museum of Natural History.  We spent 6 hours here, and I could easily have spent 6 days.  What a great museum!  We started off in the hall of North American Mammals, then on to the hall of West Coast Native Peoples.  Then we realized we had spent about 3 hours in two halls!  From there, we proceeded to crush the Human Evolution Exhibit (amazing.  wonderful.  on point.) and the Meteorite/Minerals hall.  I never ever expected this exhibit to feature the science behind crystalline bonding, but it did.  I know that Chelsea spent a summer at the AMNH doing space geology, so I thought about her the whole time I was losing my mind over the meteorites.  From there we buzzed through the hall of Marine Biodiversity before entering the hall of Vertebrate Origins.  I’m sort of an obnoxious ball of “Did you knows?” all the time, but I may have gone into overdrive when I saw all those amazing specimens.  Mammoth selfies ensued.        

We had grand plans to go to a few more museums, but it just didn’t pan out this time.  Always have to leave something to do on the next visit!  We did manage to make it to the Museum of Modern Art.  This is another great museum.  And though it is not an explicitly science based museum, I learned a few things that didn’t have to do with zips or color composition.  Mobile technology is changing lots of traditional experiences.  For example, free of charge, MoMA lends out iPod Touches containing free audio tours.  I really got a lot more out of my art museum visit as a result.  For example, I learned that the type of paint Picasso used was cheaper, because he was penny pinching, and that could be why some of the colors he used have been altred with time.    
Girl Before a Mirror, 1932
This brings us to my favorite find of the trip, the Brooklyn Botanical Gardens.  I could wax rhapsodic about this space for quite some time.  I will sufice it to say that I loved it.  I wish I could return in the spring to see the cherry blossoms going.  And talk about affordable!  Even if you don’t want to shell out the $10 dollar admission fee (only $5 for students!), you can get in for free every Tuesday.      

Pollination

 I know I’m over selling at this point, but not only was this an amazing place to learn about botany and plant biodiversity, the buildings were a lesson in sustainability.  The visitor’s center had a green roof, which captured rain water and fed it into a nearby stream.  All the glass on that building was also bird safe (check the vertical stripes, birds can see that!), and they cooled their water efficiently by sending it underground.
 

Probably the coolest thing we saw in the gardens was this amazing piece of art. This sculpture was called “Sandy Remix” and it was made mostly  from garden trees killed during Hurricanes Sandy and Irene.  The trees are arranged to look like a swirling hurricane, and you can walk up into the tree house and, thus, into the eye of the storm.  The informational sign not only gave information about the art, but the importance of climate change and its impacts.  It was a very powerful experience, and a wonderful monument to remember the storm.

Last on my tour of NYC science and natures spaces was the High Line.  This excellent park is built on historic freight rail tracks elevated above the city streets.  It was high on my list of things to see due mostly to the amazing blending of natural and man-made items in this space.  There was a bit of cool interpretive information about which native plants were blooming at the time.  Overall, this place was a very peaceful way to take a walk uptown.       

 
I went to New York, I saw some amazing science related spaces and artifacts.  I know I must have missed some really good ones.  Go ahead!  Tell me what I should go and see next time I visit.  Also, if you have any interest in the hilarious amount of vegan food I ate or the less science-y side of my adventure, feel free to hop over to my Instagram.